
When it comes down to which lights are ideal for a specific application, LED strips have them beat by a long shot. It’s not simply that they’re inexpensive and readily accessible; it’s also because of the way they’re utilized in combination with each other to create various lighting effects. When it comes to picking a particular illumination, people frequently make common blunders during the installation procedure, resulting in their failure to take full advantage of the supplied possibilities. Because of this, we’ve put up a list of the most frequent LED strip installation mistakes, as well as several helpful hints and techniques for avoiding them. As a result, please keep track of the details and follow the advice from the lines below.
1. Wiring Type
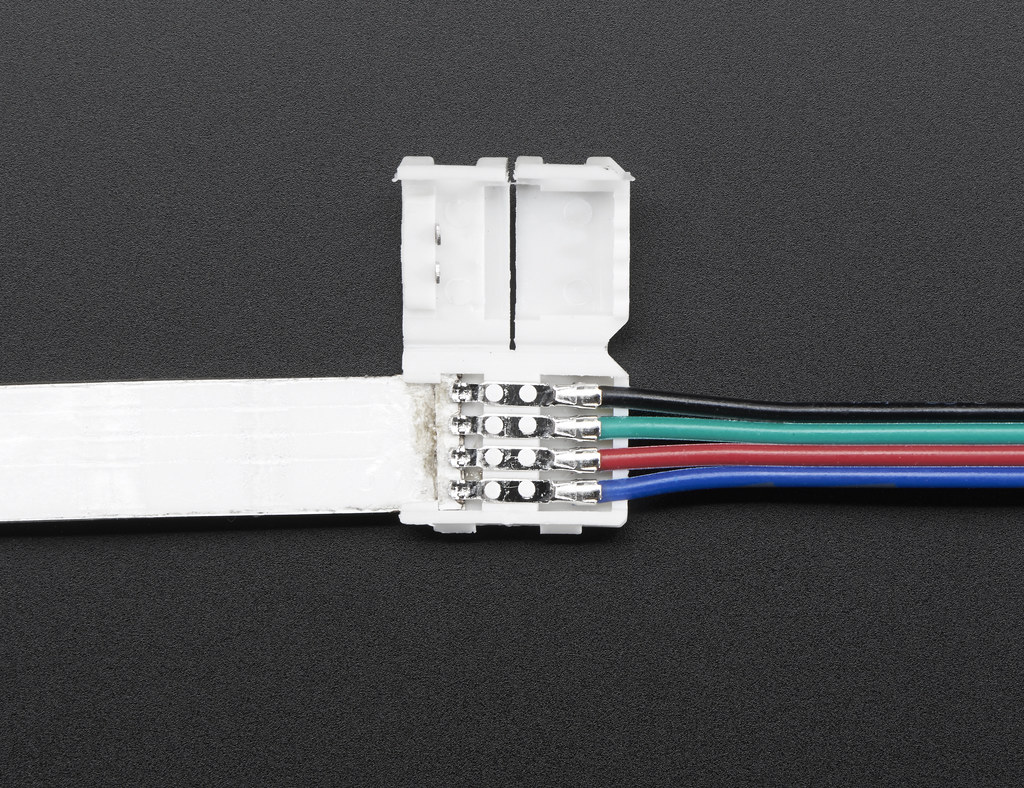
In a nutshell, there are two basic sorts of wiring that you may use with your new lighting scheme because a led strip must be linked to a power source in order to function as intended. As a result, you can either join an LED strip to a source of energy using solid or stranded wire.
Although a solid variant would work apparently well, it would actually use more energy and generate greater heat, preventing your environment from functioning properly. Stranded wiring, on the other hand, would improve your LED strips’ performance by potentiating them to deliver the intended results with minimal energy usage.
2. Check Your Gear
When it comes to utilizing LED strips, you should avoid using old, frayed wires as well as inspect the conduction strands before connecting them. If you use new materials, there’s no reason not to utilize already used wires if their condition is good.
So, make sure you double-check the wires before you begin your project since frayed cables can create more heat and waste more energy than the LED strips would use if the wiring were in excellent working order.
3. Convert the Power
A LED strip, as the name implies, is a collection of LEDs that are linked together to output light. A converter is required for it to function. Furthermore, its job is to provide power to the strips, and you should be aware of the maximum voltage a converter can handle.
Unfortunately, many do-it-yourselfers learn about it after they begin the installation, leaving them with no time to correct the mistake. As a result, double-check that you have selected the appropriate converter before connecting the LED strips so you don’t end up with a solution that makes matters worse.
Every strip specifies a particular quantity of power, so it’s up to you to figure out how much wattage your building needs to function. When it comes to converters, today’s devices can handle as much as 60 watts, so research carefully and weigh your choices before beginning the installation.
4. The Method of Application
We should emphasize that a standard LED strip is coated with an adhesive layer that makes it easy to apply. While the self-adhesive solution appears to be ideal for some applications, more complicated light settings necessitate additional reinforcements in order to remain stable.
The more complex the light setting, the higher the chances you’ll need additional grow strengthening methods. As a result, carefully evaluate your alternatives and see whether the lighting setup you’ve got in mind needs any help, because making amends on the go would accelerate time-consuming processes that you want to avoid. The last thing you want to happen is for your location to crash soon after you complete, so we recommend investing in mounting clips. They’re simply a quick and easy solution that keeps the light strips where you want them and performs an incomparably better job than the standard adhesive.
5. Color Choosing
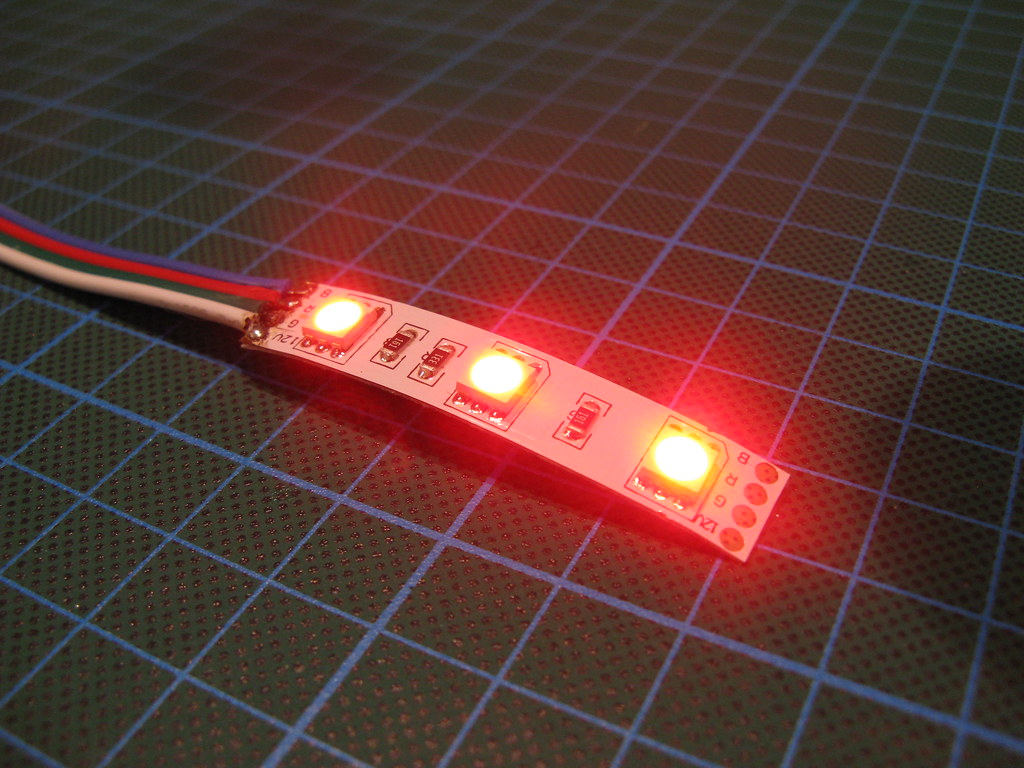
Since we presume you don’t plan to put LED strip lighting on every day, we strongly advise you to choose colours that go well with each other. The most popular lighting colour is white, but you may also choose other hues to match your design. As a result, RGB and its variants are the best options.
The issue with colour choices is that different chips produce distinct hues, resulting in varying results. An RGB chip, for example, will provide both the fundamental hues and their variants, whereas an RGBW chip will do so with the inclusion of white.
The colour of the light that is sent out by a bulb depends on its hue, which can be modified in a variety of ways. Some RGB strips use separate RGB and white chips to provide smoother colours, while more prevalent variations are designed with RGBW chips, known for their low cost rather than high quality. As a result, be sure you figure out which variant will provide exactly what you want since doing the whole thing over again would be both time-consuming and costly if you had only chosen to spend a few dollars more in the first place.


